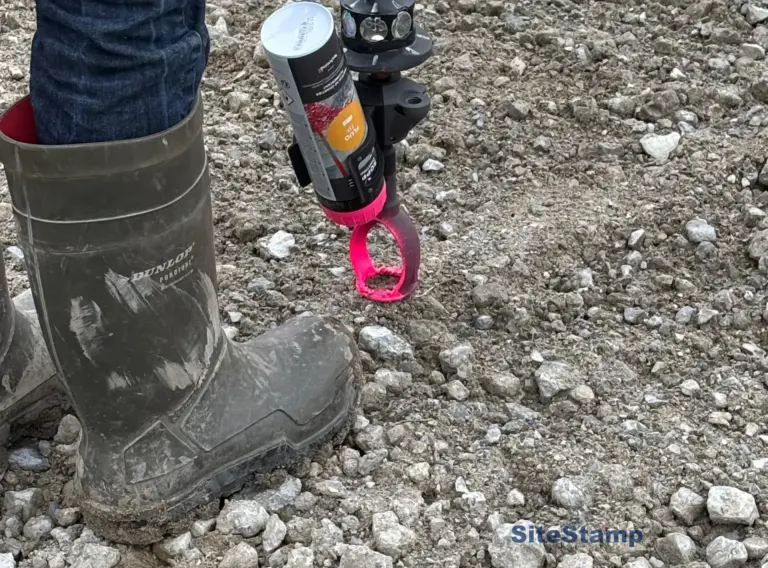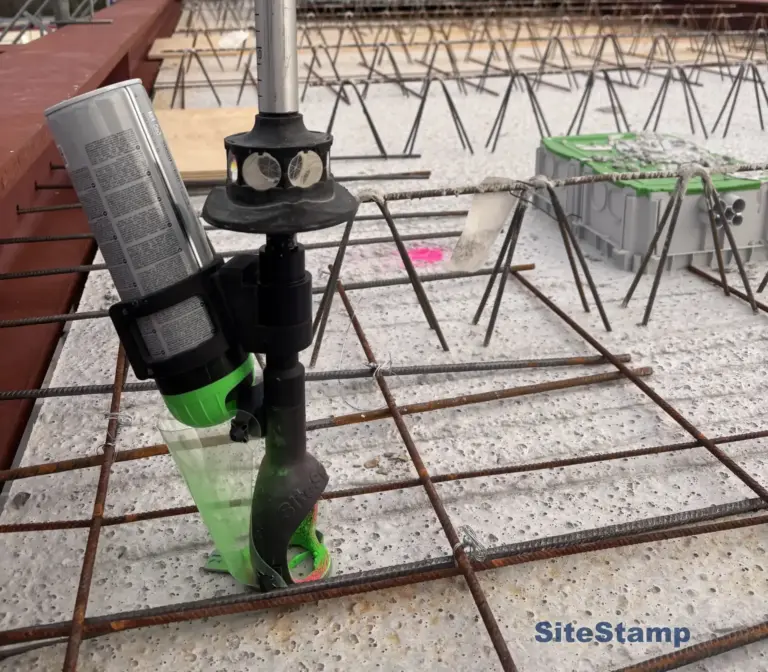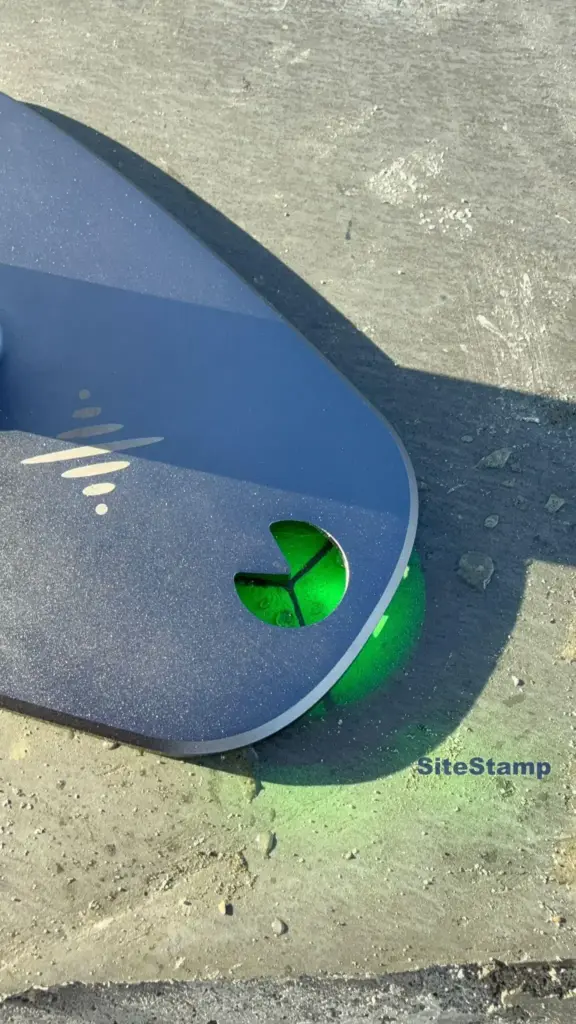
For precise stakeout, such as MEP points, roadmarking, anchor positions and interior walls on floors, simply click a stencil onto the bottom. This lets you mark points accurately. Each stencil has 3 lines pointing towards the centre, and the spray area is approximately 45 mm in diameter.
SiteStamp owes its accuracy to its aluminium base and the precision guide shaft at its core. The bottom consists of a sturdy, lightweight plastic foot.
Which stencil should I choose?
‘Flat’: for smooth surfaces.
“Rough”: performs better on uneven surfaces.